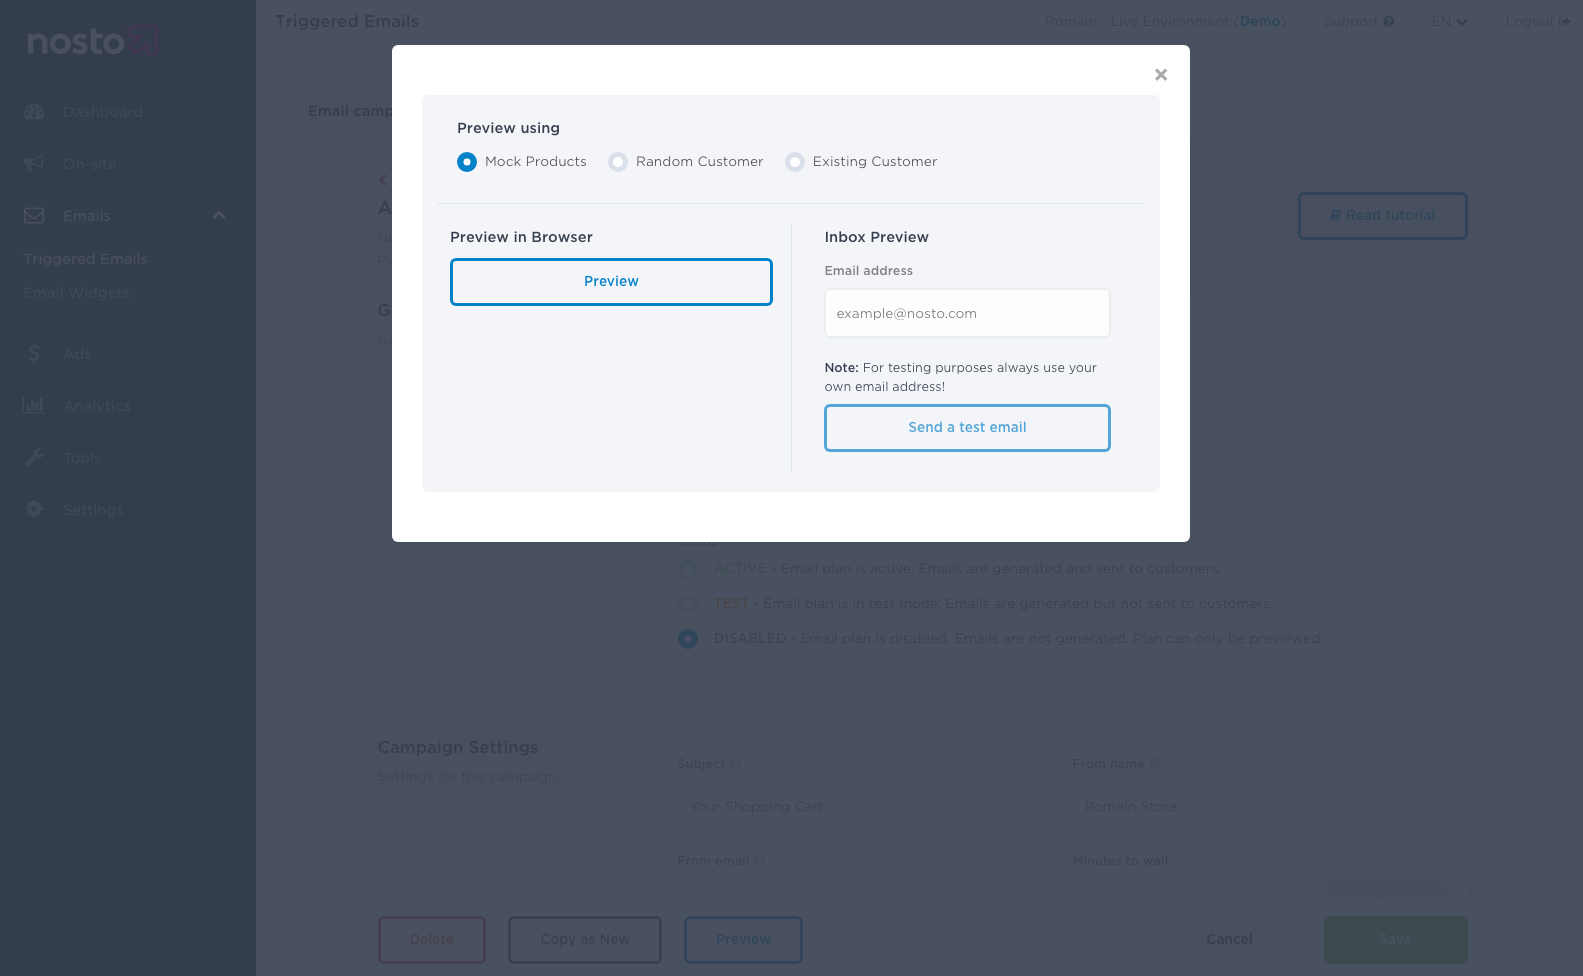
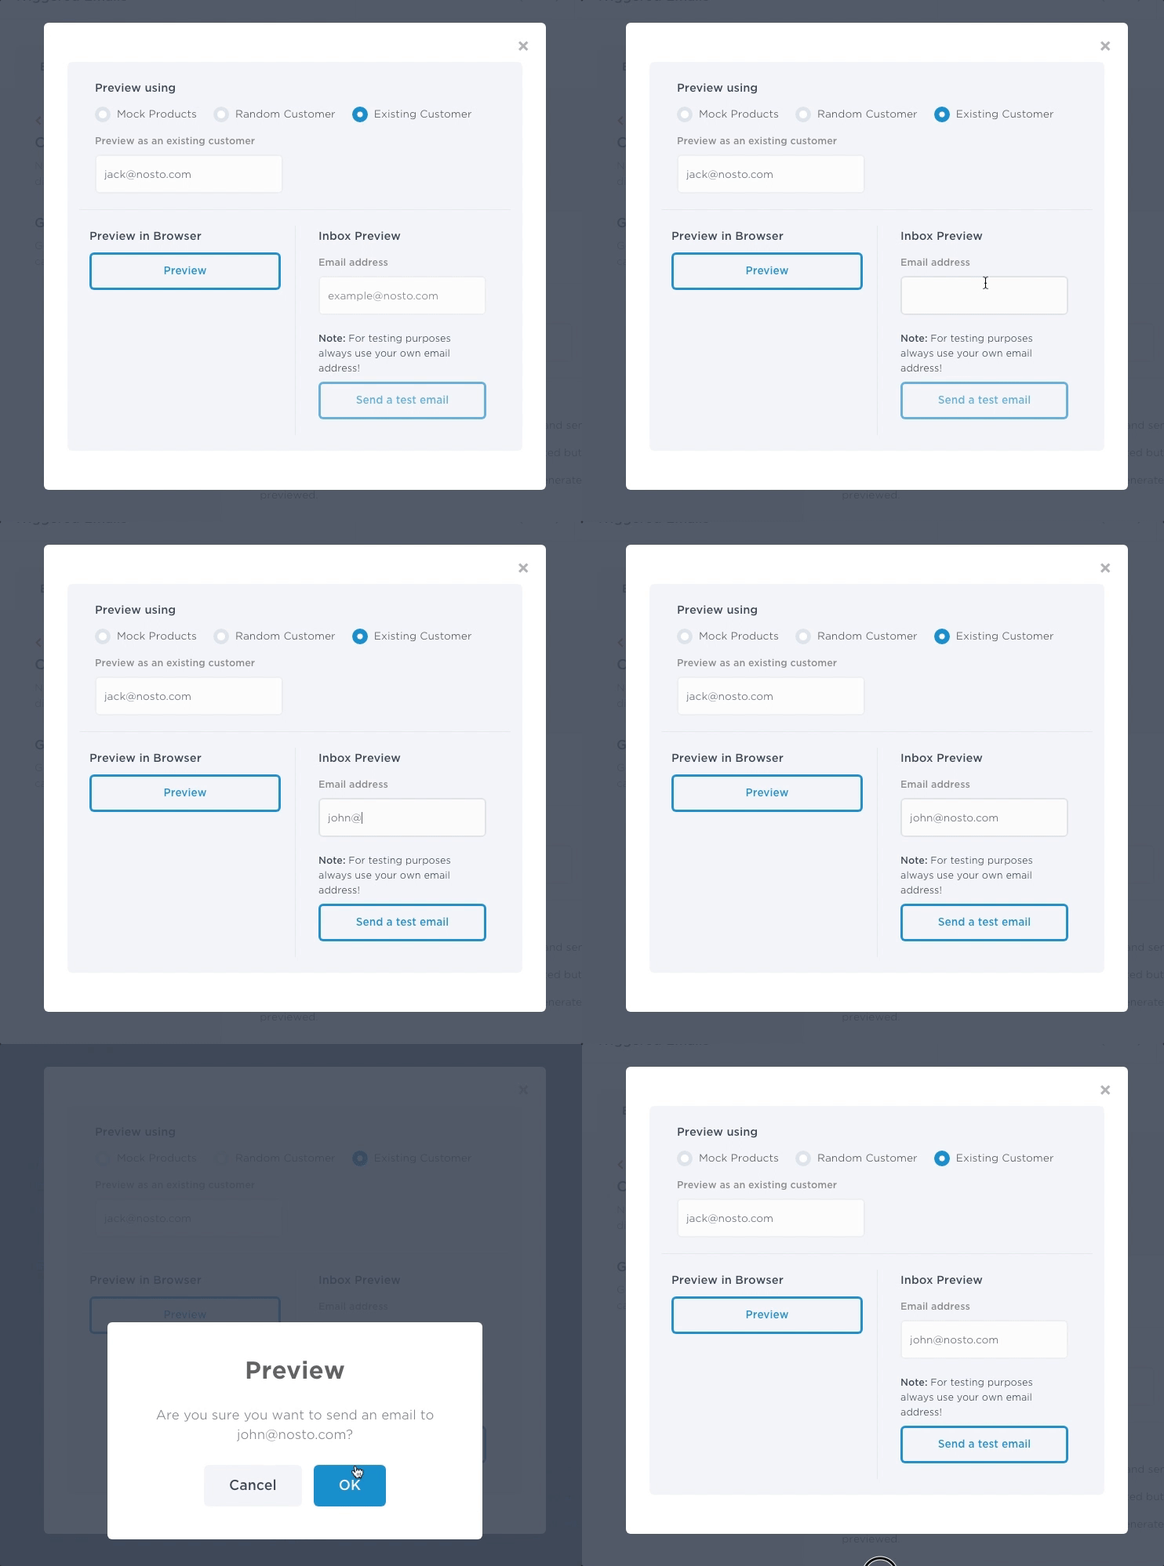
The preview functions allows viewing changes made to the template safely and it is an essential tool when building an email campaign. You can preview all Nosto triggered emails via two options: preview in browser or send a test email to your inbox. Test email dispatches a single email to a selected address when you are ready and want to preview an email as it will appear in an inbox.
Preview using mock products
Preview using mock products displays your template using mock-up products.
Preview using random customer or existing customer
Preview using mock products displays your template using products of your store and select a random customer or for a given customer based on email addresses.
Why can’t I send a test email?
Email address of existing customer is missing
If you have selected “Existing Customer” to preview, make sure an email address is set in the input field:
Email address of sender is missing or not set for the campaign
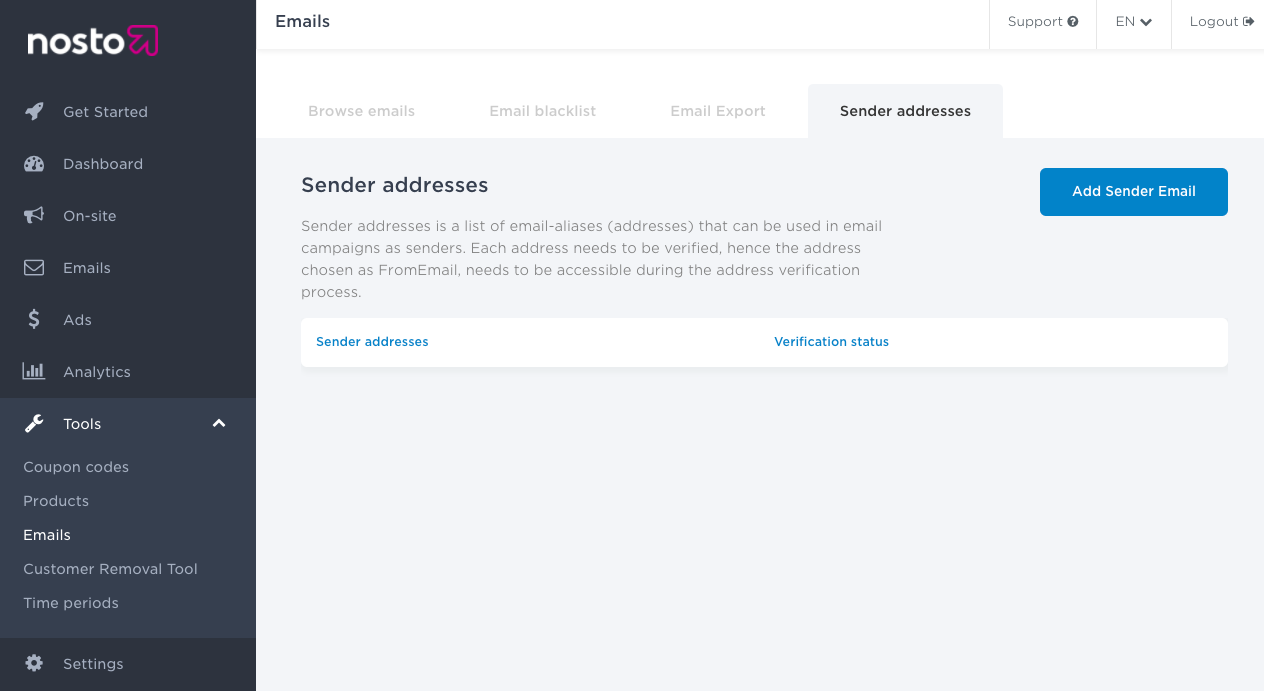
If you want Nosto to send triggered emails and test emails, sender must be defined and set for the given campaign. The first step is to authenticate your email address from our services. You can add your sender email address under Tools > Emails > Sender Addresses:
Click “Send a verification email” and you will receive an email to verify your email address. Click the link in the email and you will get redirected to your Nosto interface and informed about the status of the verification. When your email address is verified, you can see the status as such:
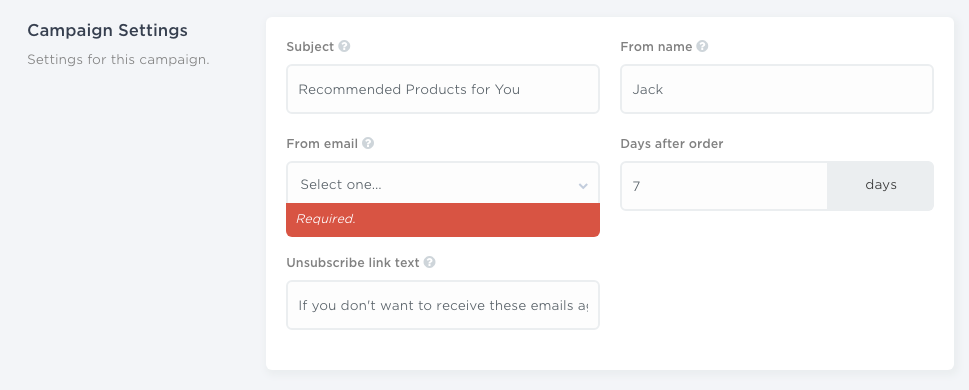
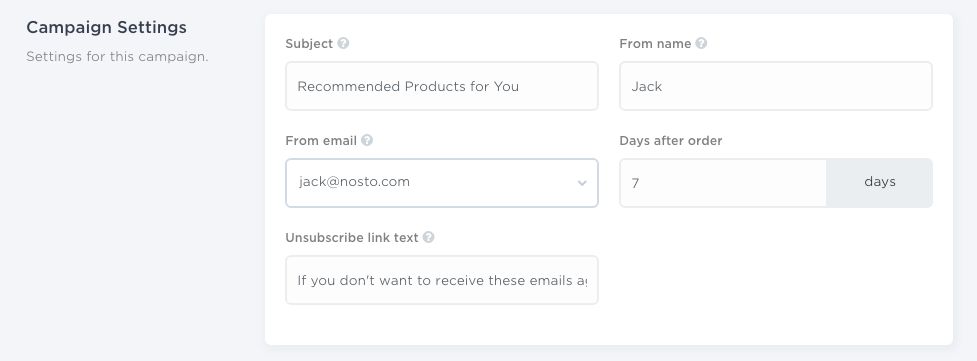
Now that an email address is verified, it can be used for a given email campaign. Make sure the email address is correctly set in the Campaign Settings panel:
Email address not set
Email address correctly set
Email address of recipient is missing
If you want to send a test email to your inbox, define the email address in the input field as such:

